Which is the best media server you can find? There are many out there, and the two most common are Kodi (XMBC) and Plex Media Server. With Plex you get a “Plug n’ Play” media center which is really easy to install. It provides a neat Web GUI and makes it very easy to share you movies and music amongst friends and family. It’s also very easy to set up secure external access so that you can enjoy watching a movie when you’re on the train for instance. Kodi on the other hand has far more settings, and are good if you want to tweak everything to the max, though (afaik) it’s not that easy to administer external access. The choice is of course yours in the end, but we like Plex, and have been using it for some years now so we’ll simply continue to do that in this setup.
DISCLAMER: Downloading movies, music, and series are illegal depending on the laws in your country. We do not recommend anyone to break the law!
Web GUI + RSS = hard nut to crack
In our previous setup we had a regular Windows machine with Plex + a client that managed the downloads via RSS installed. It worked OK, but since we care about privacy we wanted to move away from Windows, especially now when we have a headless ESXi Host that makes it possible to go Linux all the way. Though there aren’t many alternatives when you start looking around. What we needed was a torrent client that is managed via a Web GUI as there are no GUI in Ubuntu Server, and at the same time be able to handle RSS in that Web GUI. There are so many different torrent clients, but when you want to have a Web GUI, the options are few. Basically you can choose between uTorrent, Transmission, Deluge, Vuze, and ruTorrent. Then the next issue is; manage RSS via the Web GUI, well, then there is only ruTorrent left. Just to figure that out took a while.

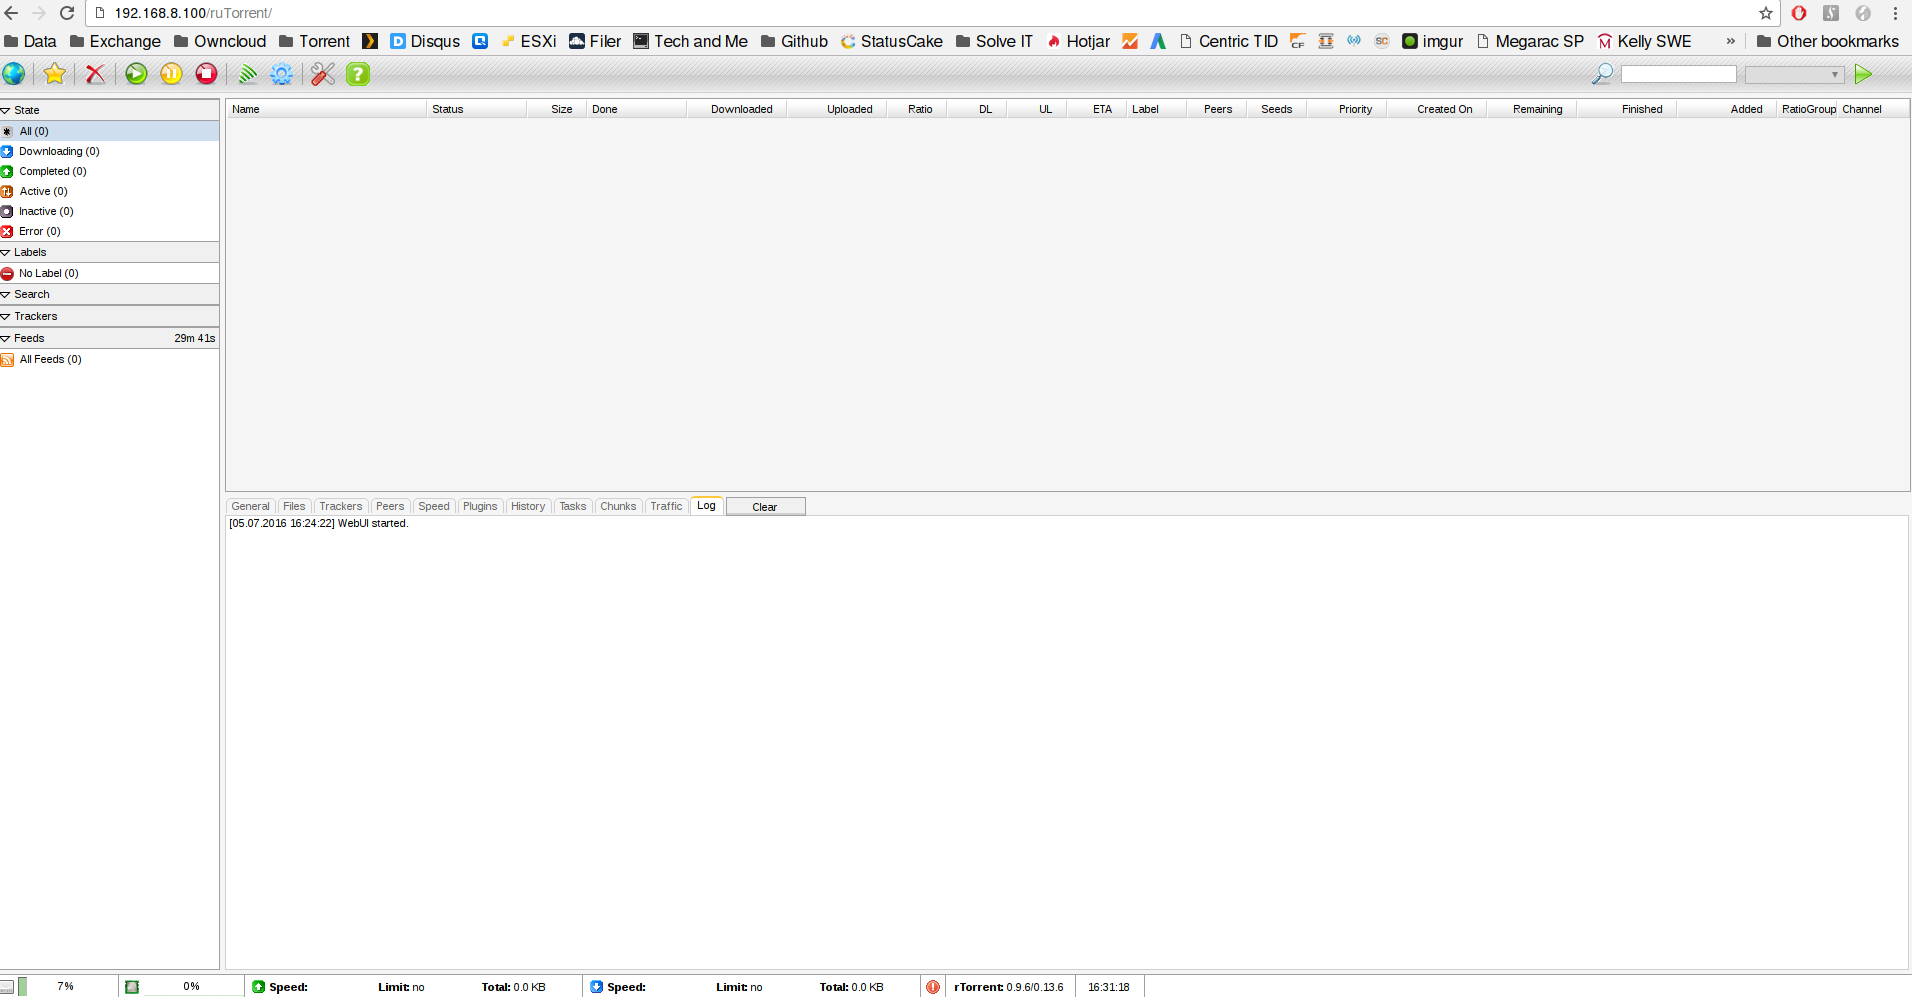
Now, ruTorrent isn’t Plug n’ Play, you will need some Linux skills to set it up. it took us a while to succeed, but when we did, what a relief! It was exactly what we where looking for! ruTorrent does it ALL, you don’t even have to enter your private tracker because with ruTorrent you can search directly in the Web GUI and add the torrents from there, very convenient. The best part is that you can manage your RSS feed directly in the Web GUI as well with precise setting to download exactly what you are looking for. To make it easer for you, here is a guide that you can follow.
Install rTorrent + ruTorrent
In most guides we’ve seen the writer compiles most of the dependencies. In this guide we won’t compile anything as Ubuntu Server 16.04 have all the dependencies built in. This ensures that you always have the latest and updated dependencies, and when a new version comes out, you just update as usual with apt-get.
-
Install ubuntu server 16.04
We will use Ubuntu Server as OS for this install as this will run headless. Make sure to not install anything on the server except OpenSSH as we will install everything in this guide instead. It’s easier to keep track of what are installed and what’s not. In the end you’d want a server with a minimal attack surface.
In this example we will use “plex” as the user in our system.
-
Install Rtorrent
Most of the previous guides we found compile Rtorrent from scratch, but why make it hard on yourself when all you need to do is:
$~: sudo apt-get install rtorrent -y
-
Install Apache + PHP 7
Apache and PHP is needed later to be able to reach the Web GUI. In the following guides we will set up Apache to be able to reach it externally so that you can add torrents from anywhere in the world.
$~: sudo apt-get install php php-geoip php7.0-cli php7.0-json php7.0-curl php7.0-cgi php7.0-mbstring libapache2-mod-php libapache2-mod-scgi apache2 -y
-
INSTALL packages for plugins
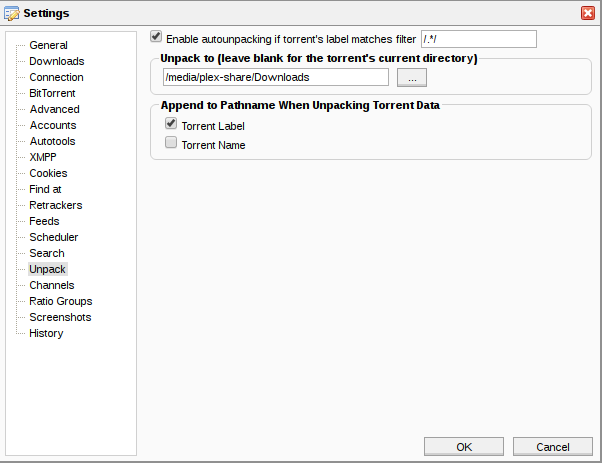
This is needed to be able to run certain plugins. One of them automatically extract files once they’re downloaded e.g.
$~: sudo apt-get install unrar unzip ffmpeg mediainfo curl sqlite3 -y
-
Install ruTorrent
To be able to run ruTorrent with PHP 7 we have to use the latest master from Github. This is considered to be the development edition, but the latest stable release of ruTorrent was one year ago, which means that it won’t work on Ubuntu 16.04 as it only provides PHP 7. Anyway, we tested this, and there are no issues. Though we can’t guarantee that it will work every time. It’s always recommended to use stable versions. You can get the latest stable release here or here.
$~: cd /var/www/html
$~: sudo apt-get install git -y && sudo git clone https://github.com/Novik/ruTorrent.git && sudo apt-get purge git -y
$~: sudo chown -R plex:www-data ruTorrent/ && sudo chmod -R 770 ruTorrent/
-
Create .rtorrent.rc
rTorrent can be configured easily by placing a config file named “.rtorrent.rc” in the home dir of the plex user. An example of such a file can be found here. Tweak the file to your needs (do NOT skip this part) and make sure it contains the following:
scgi_port = 127.0.0.1:5000
Create the file like this:
$~: nano /home/plex/.rtorrent.rc
-
Configure some basic settings
Session
$~: mkdir /home/plex/.rtorrent.session
This saves the session in memory. Don’t forget to remove the hash (#) in .rtorrent.rc
session = /home/plex/.rtorrent.session
HTTPRCP
Add the following to your ruTorrent plugins.ini file (/var/www/html/ruTorrent/conf/plugins.ini) to enable the HTTPRPC plugin and disable the RPC plugin.[httprpc] enabled = yes [rpc] enabled = no
-
Restart Apache2
$~: sudo service apache2 restart
-
Install Screen
To install screen simply just type this:
$~: sudo apt-get install screen -y
Screen is a terminal multiplexer. Or simply said, a utility to run multiple sessions at the same time. That way you can start rTorrent as a detached session and use terminal for other things while rTorrent keeps running in the background. Here is a small list of commands to use when using rTorrent with screen. Please remember to run the following commands as the ‘plex’ user, or the user that you will run rTorrent under.
Start rTorrent detached
screen -S rtorrent -d -m rtorrent
Resume detached session
screen -S rtorrent -r
Quit detached rTorrent session
screen -S rtorrent -X xon
Detach current session from this terminal
Ctrl+a d
Quit current rTorrent session
Ctrl+a q
-
Enable rtorrent as a service
Option 1
Start with a init.d script (this will make ruTorrent stop if you login with the same user via ssh)
$~: sudo wget https://raw.githubusercontent.com/mjsilva/rtorrent-screen-debian-init-script/master/rtorrent -P /etc/init.d/ && sudo chmod +x /etc/init.d/rtorrent && sudo update-rc.d rtorrent defaults 99
If for some reason it fails to start, you have to delete the lock file in sessions before you reboot like this:
$~: rm /home/plex/.rtorrent.session/rtorrent.lock
Option 2:
Start as a service on login
$~: sudo nano /etc/systemd/user/rt.service
[Unit]
Description=rTorrent
After=network.target

[Service]
Type=forking
KillMode=none
ExecStart=/usr/bin/screen -d -m -fa -S rtorrent /usr/bin/rtorrent
ExecStop=/usr/bin/killall -w -s 2 /usr/bin/rtorrent
WorkingDirectory=%h

[Install]
WantedBy=default.target
Start at boot time:
$~: systemctl --user enable rt
Start manually:
$~: systemctl --user start rt
Stop:
$~: systemctl --user stop rt
-
Now we’re all set with the installation of the torrent client
That was the hard part, in the next guide we will install Plex and configure it. If you want to check one of the many tutorials out there on how to use ruTorrent, check this out.
You find the next guide here.