![]() Make phpMyadmin secure! Only allow access on your LAN (Local Area Network) and lock access from the outside world. In this guide we will install phpMyadmin on Ubuntu Server 14.04 and make it secure.
Make phpMyadmin secure! Only allow access on your LAN (Local Area Network) and lock access from the outside world. In this guide we will install phpMyadmin on Ubuntu Server 14.04 and make it secure.
phpMyadmin is a great tool to handle your MySQL databases! Instead of using the command line in Ubuntu you get at GUI (Graphical User Interface) and can easily manage all you databases. Try the demo here.
Note: Download our bash script that installs and secure phpMyadmin automatically!
-
Begin with becoming root in Ubuntu
$~: sudo -i
-
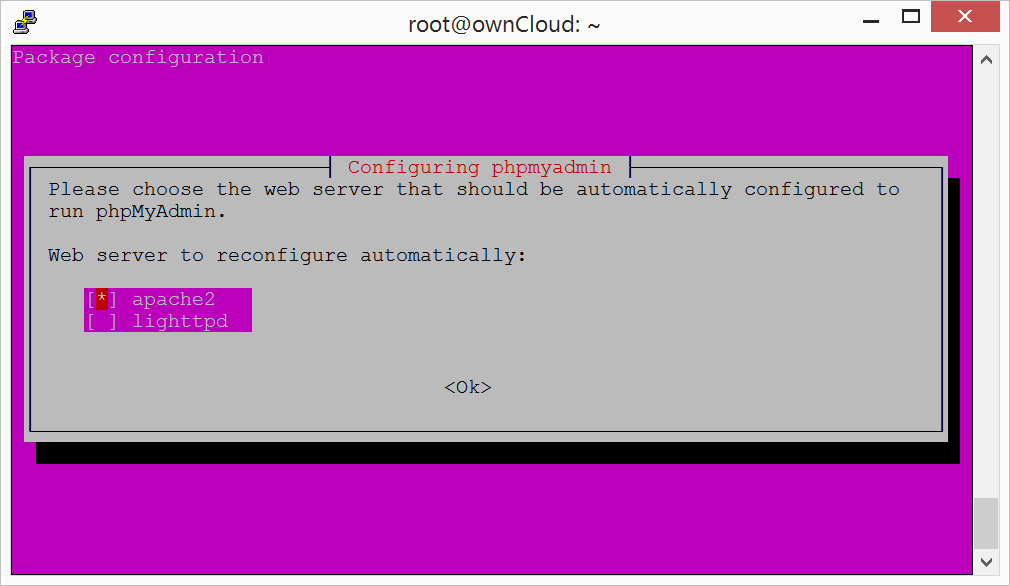
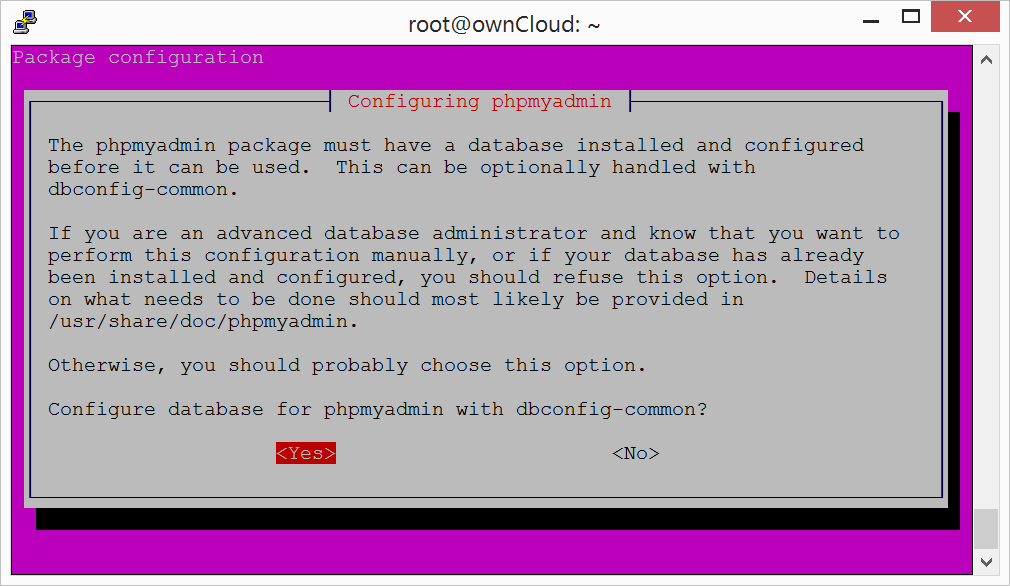
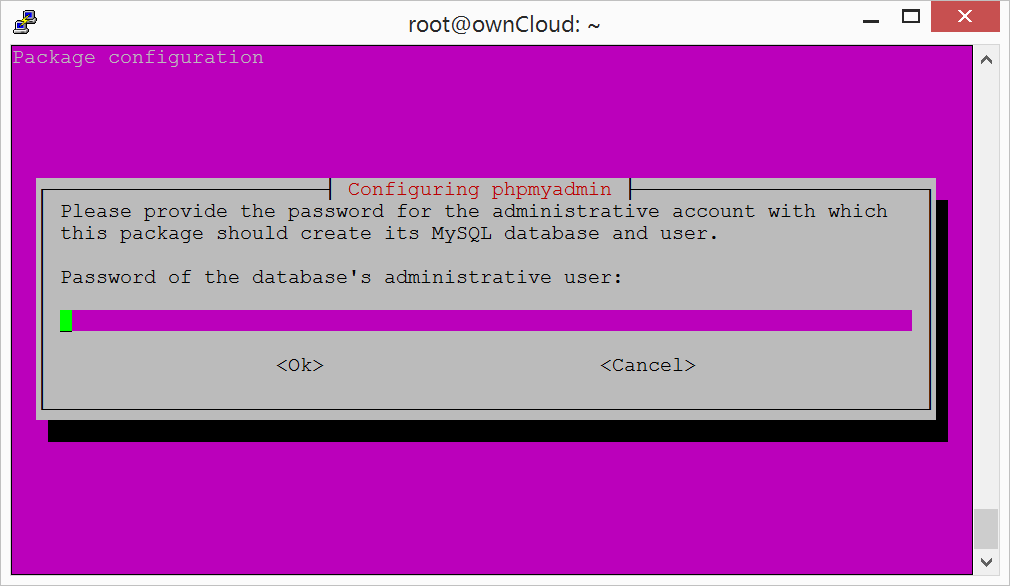
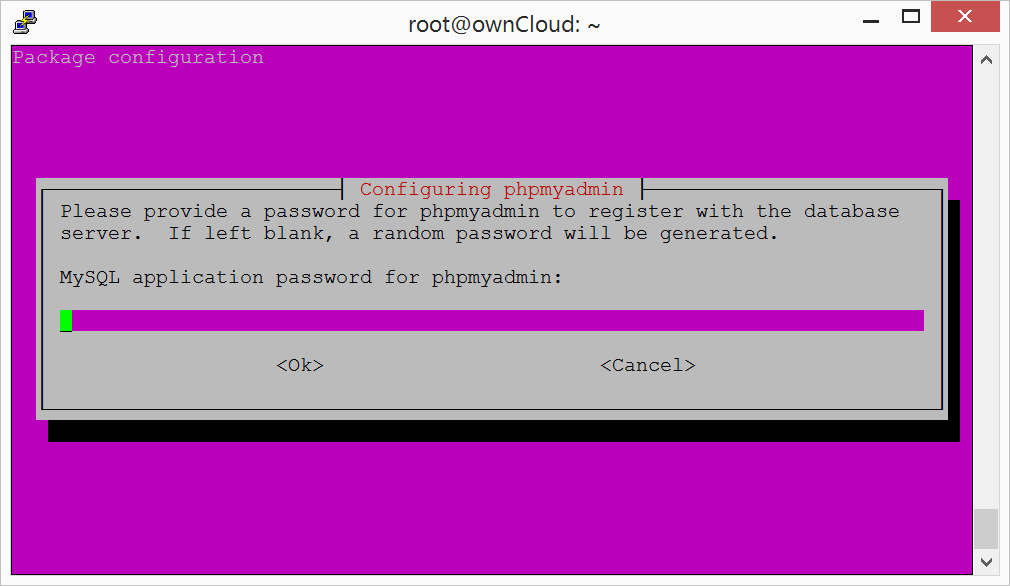
Next, install phpMyadmin
apt-get update
$~: apt-get install phpmyadmin
-
Install the mcrypt mod
php5enmod mcrypt
-
Restart Apache
service apache2 restart
-
To access phpMyAdmin just go to
http://your-internal-ip-adress/phpmyadmin

If you are using port 443 (SSL):
https://your-internal-ip-adress/phpmyadmin
-
Make it secure
To disallow access outside your LAN you have to make changes in the .conf file. To access the .conf file just type this in terminal:
nano /etc/apache2/conf-available/phpmyadmin.conf
And add these values:
(192.168.1.1 is your router)
# phpMyAdmin default Apache configuration

Alias /whatever-you-want /usr/share/phpmyadmin
# what-ever-you-want is instead of /phpmyadmin

<Directory /usr/share/phpmyadmin>
 Options FollowSymLinks
 DirectoryIndex index.php

<IfModule mod_authz_core.c>
# Apache 2.4
<RequireAny>
Require ip 192.168.1.1
Require ip 127.0.0.1
Require ip ::1
</RequireAny>
</IfModule>
<IfModule !mod_authz_core.c>
# Apache 2.2
Order Deny,Allow
Deny from All
Allow from 192.168.1.1
Allow from ::1
Allow from localhost
</IfModule>
-
Access your phpMyadmin from
http(s)://your-internal-ip-adress/whatever-you-want
-
Success!
Now you have successfully installed and configured phpMyadmin securely.
Pro tip
Install ownCloud and host your own private cloud. Download the pre-configured ownCloud VM today!